How to display your papercutting

Many people are unsure of how to frame their papercutting piece - mainly because they haven't framed one before.

BUT - it's easy! And there are lots of options! One of the reasons I love papercut artwork is because they look so different than normal art prints, and they can really bring a unique look to your walls.
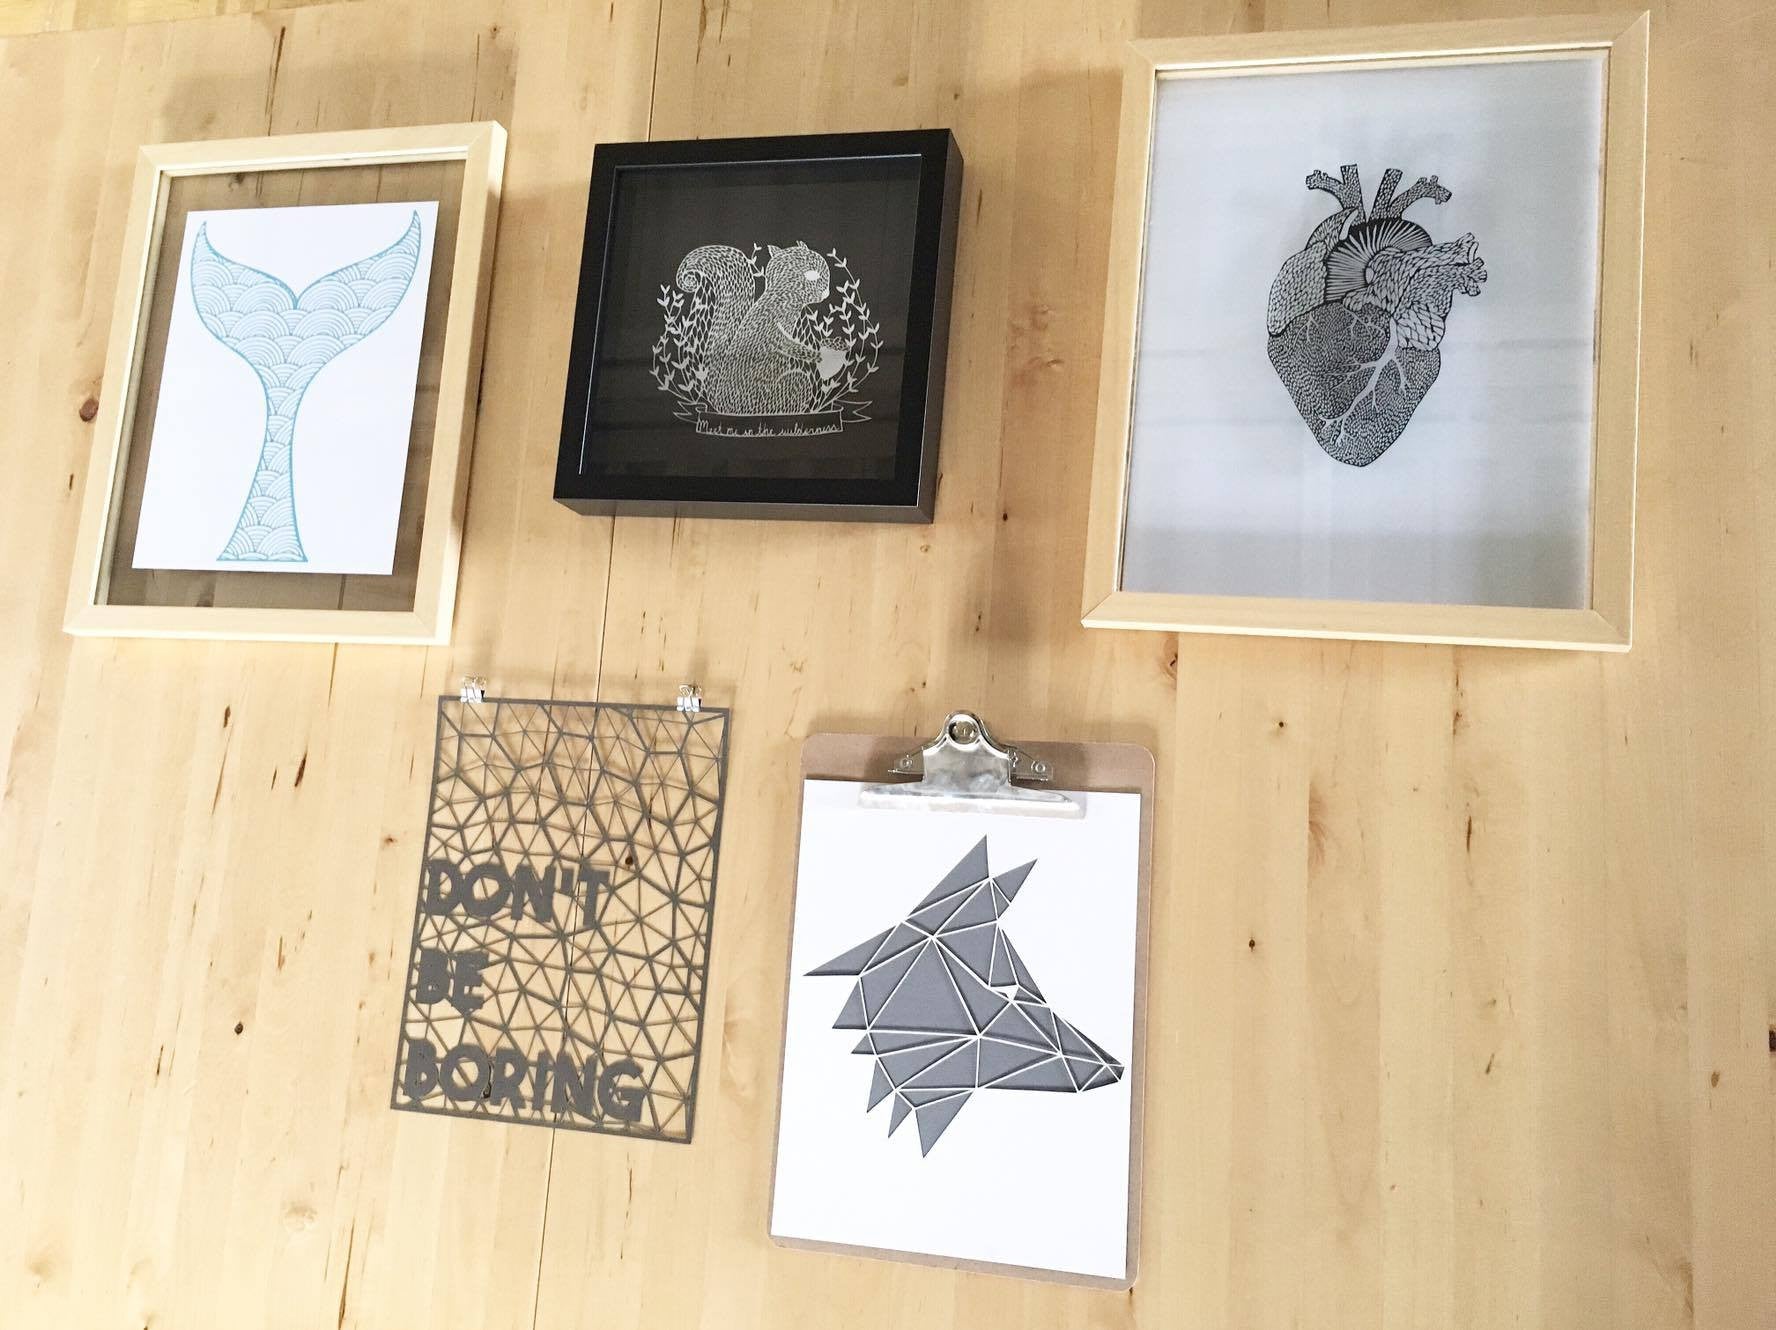
Some options from the photo above:
1 - floating frame with paper background. For this option I attached our whale fluke papercutting to a white paper behind it with a small piece of double sided tape, and then put it in a larger floating frame.
2 - shadowbox frame - I attached the papercutting to a dark grey background. This option is great because you can see the papercutting sit up off the background.
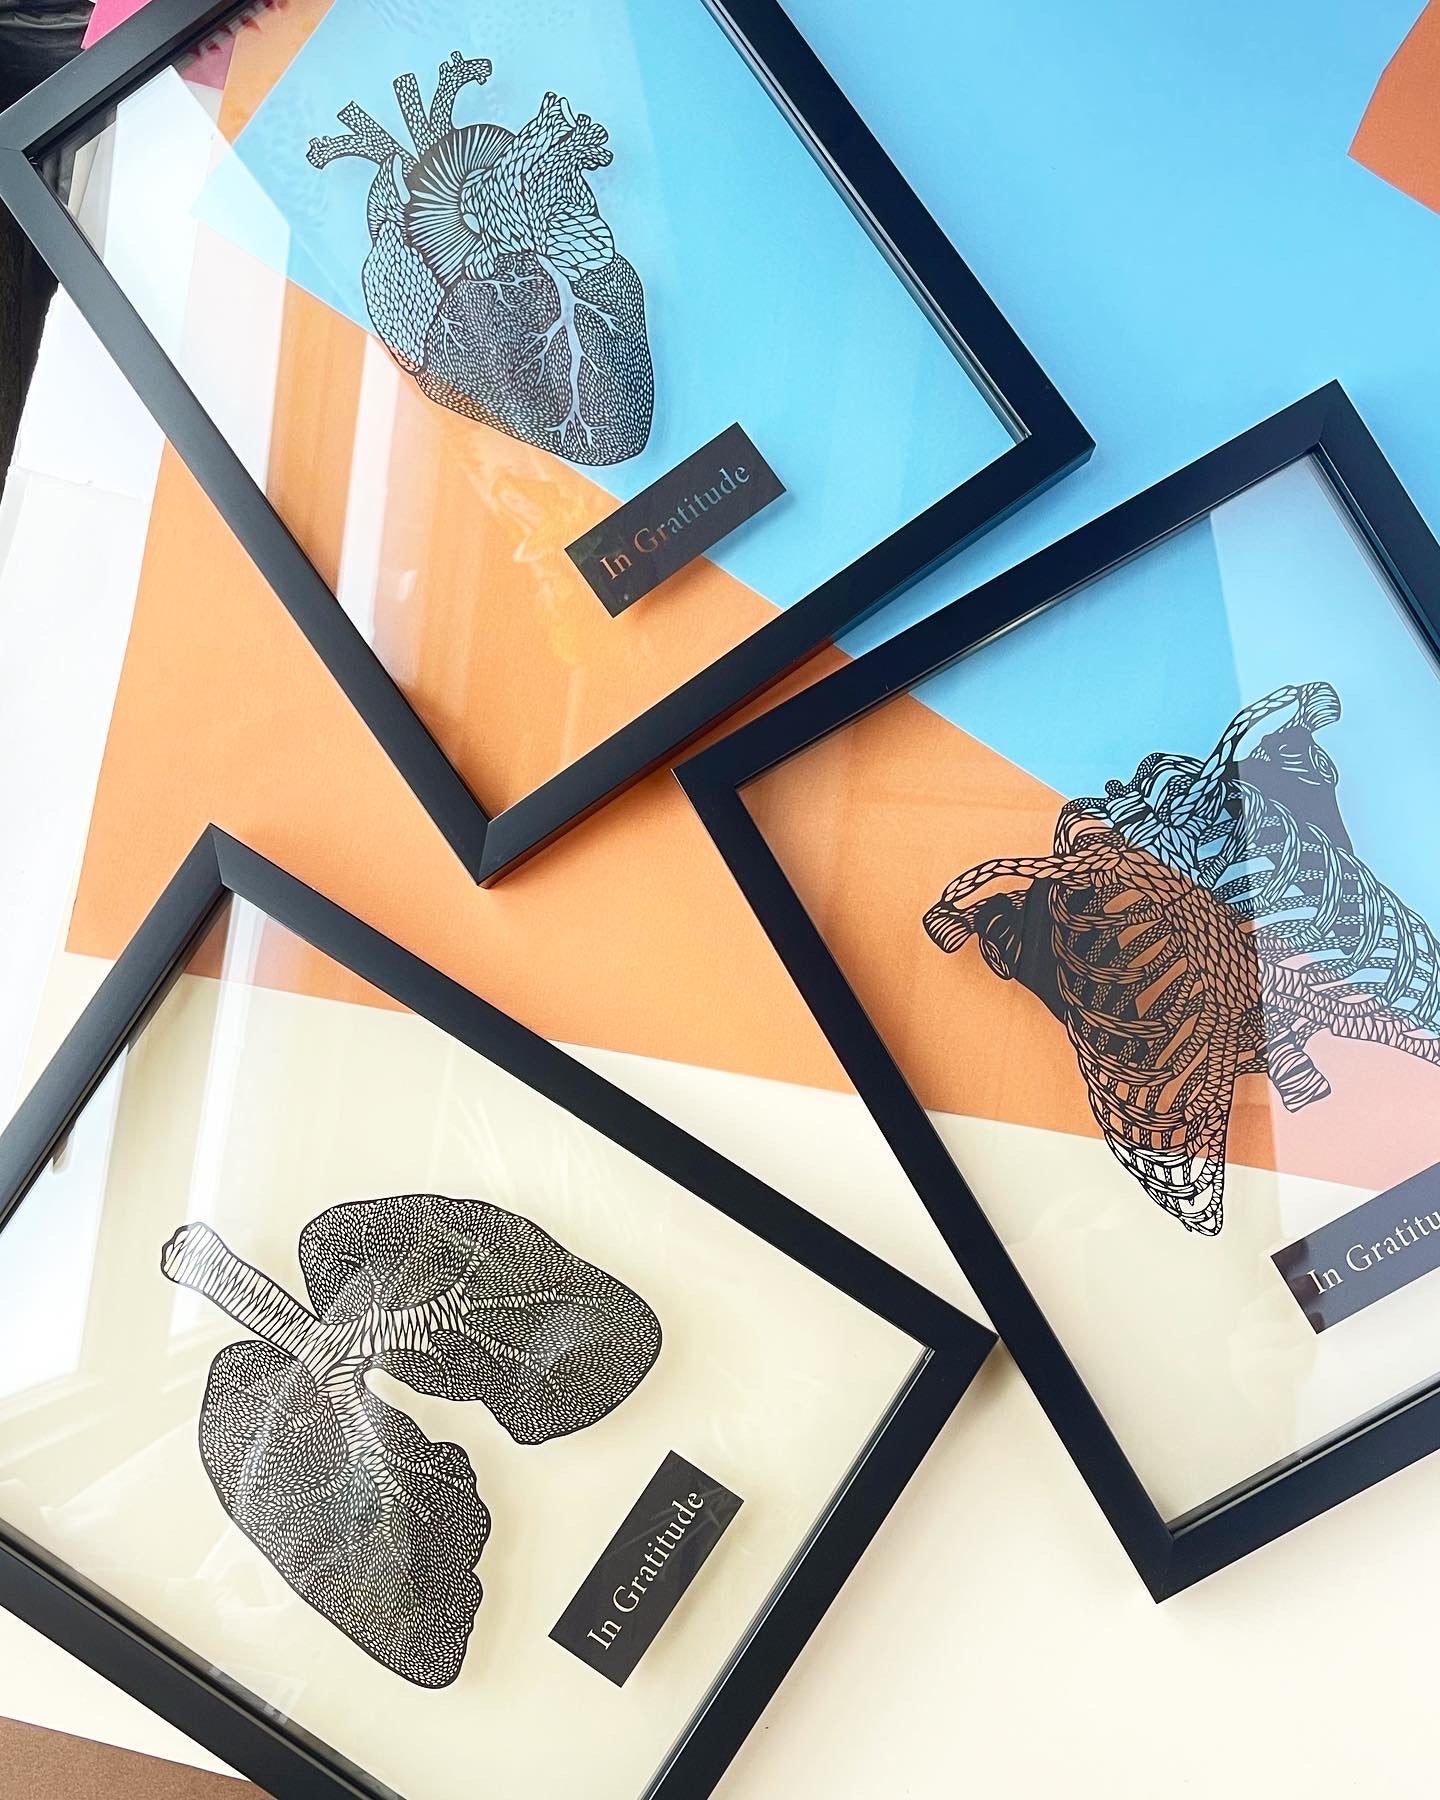
3 - Floating frame with no background paper - this is my favourite way to display the anatomical heart - and it looks beautiful in a window! Floating frames have two panes of glass. Use a small piece of double sided tape to attach the papercutting onto the back piece of glass.
4 - Straight up binder clips! Very easy - but only an option for pieces with a border
5 - Clipboard - just as easy as binder clips!
View more display ideas and inspiration here!

Comments