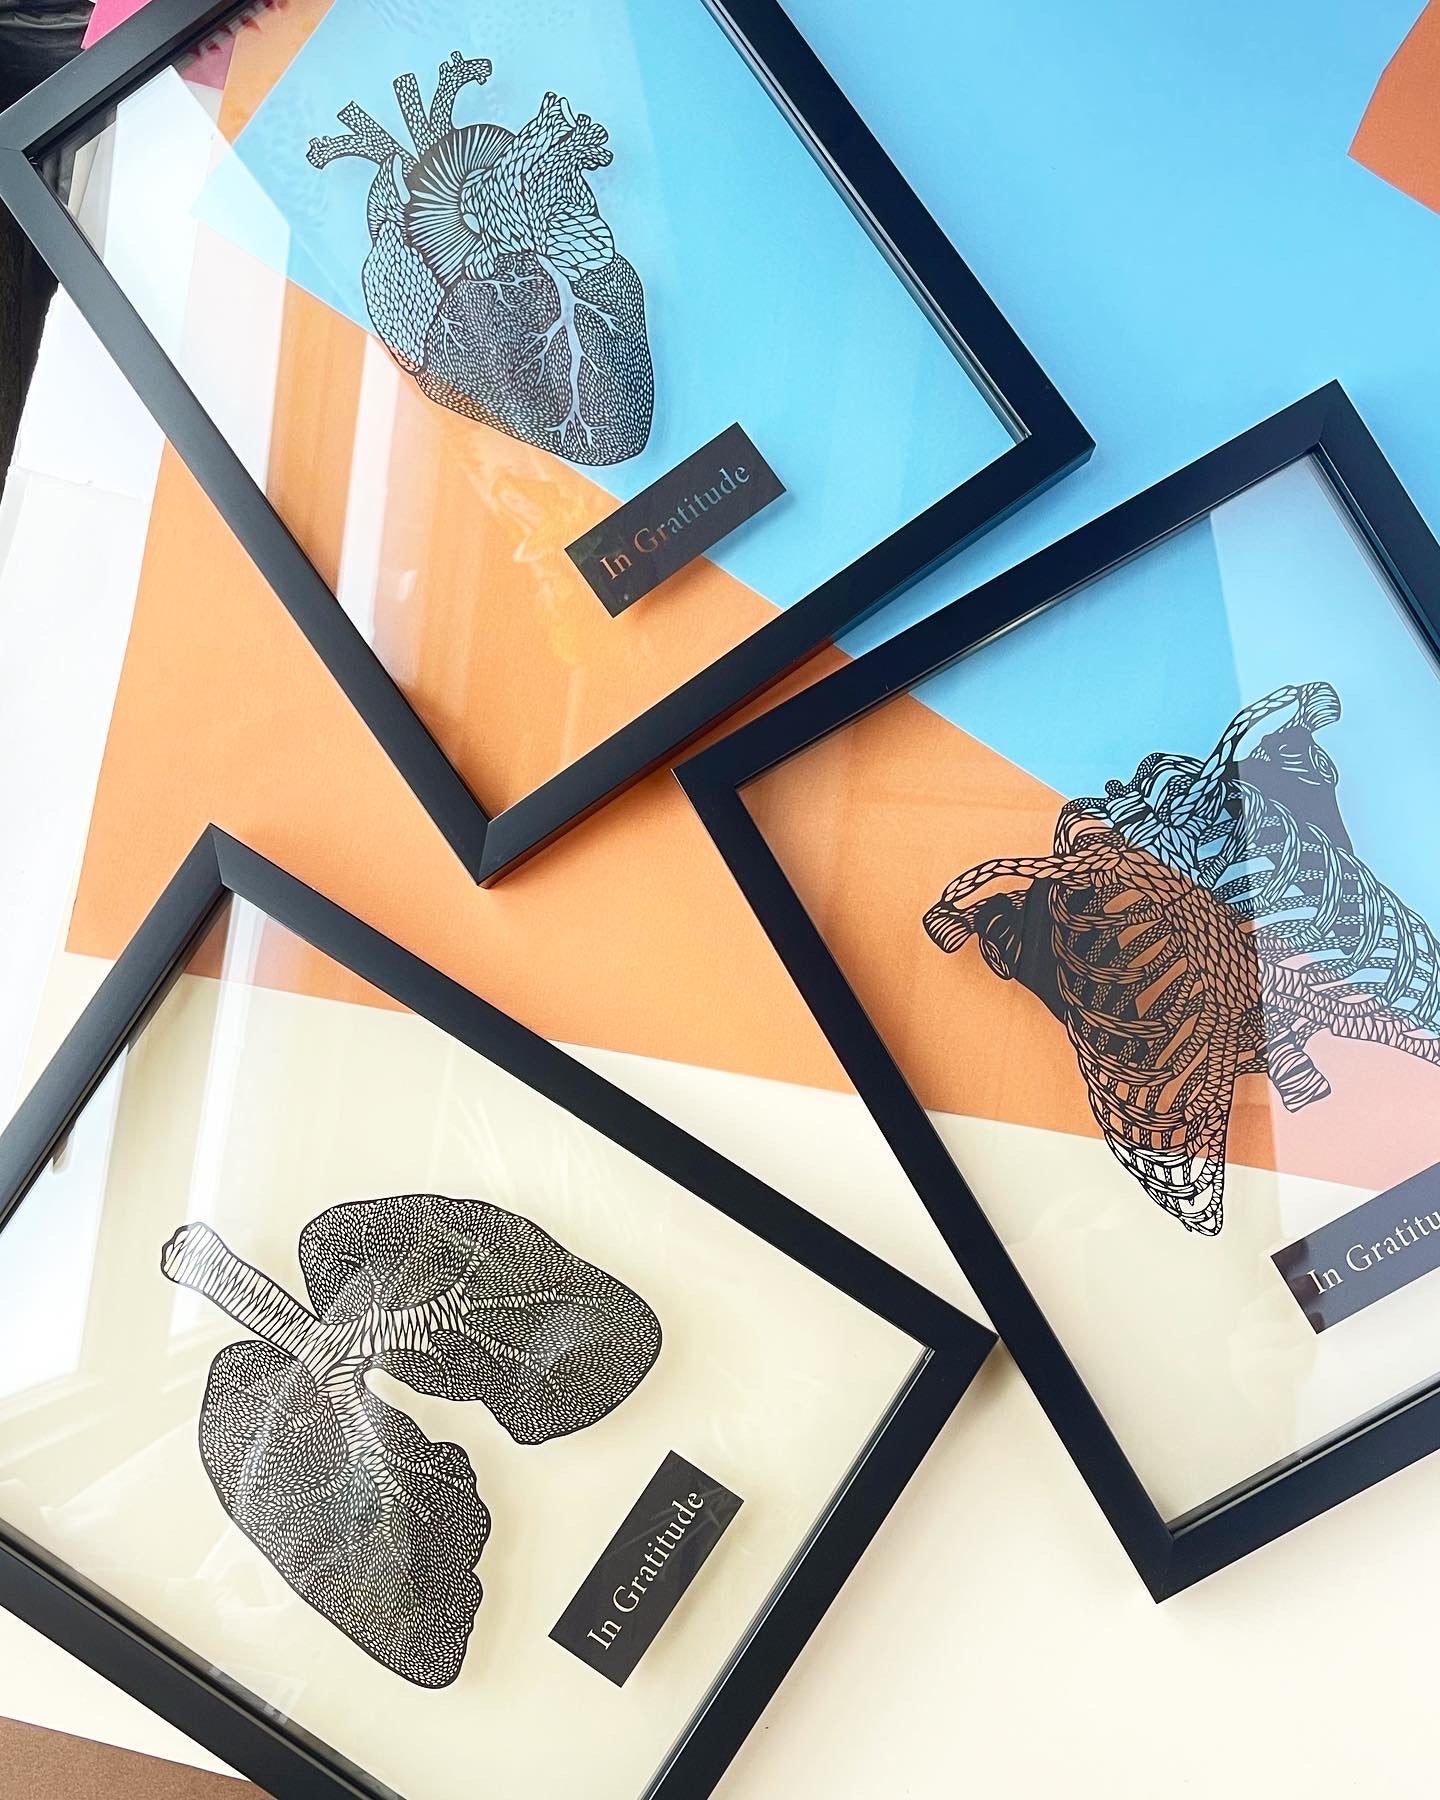
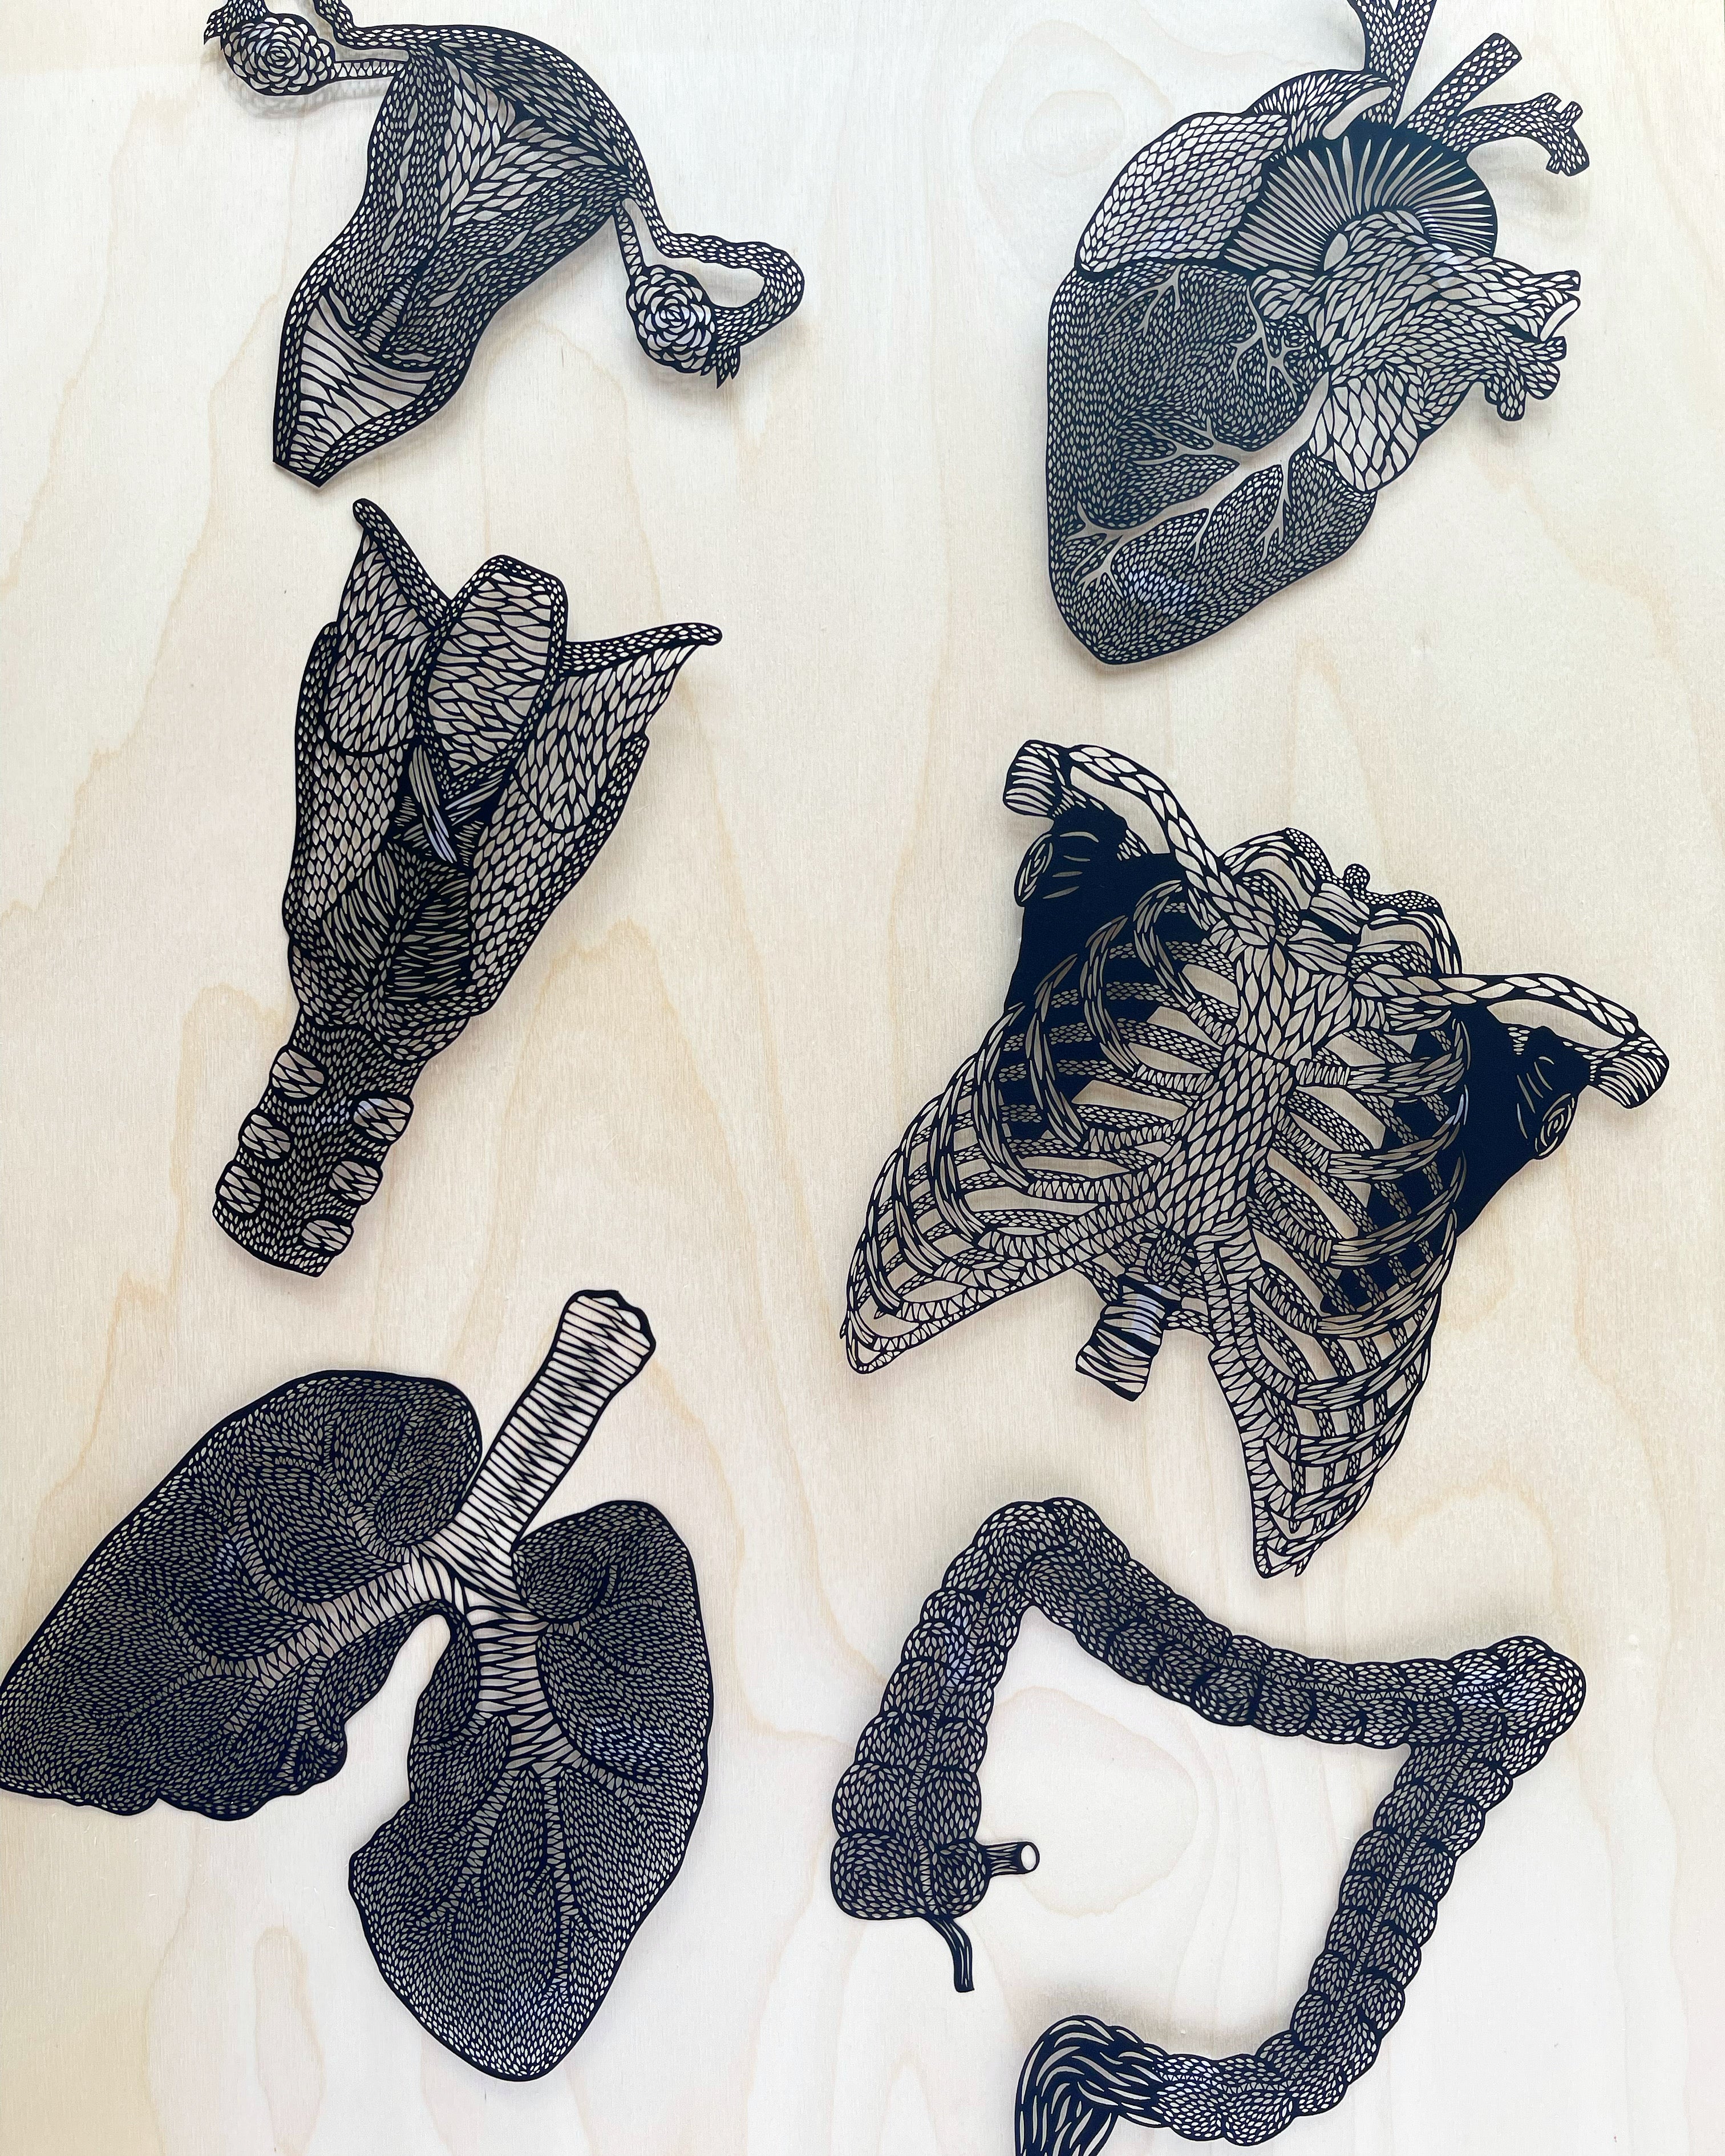
Framing papercutting artwork always scares people. It's a bit more involved than simply popping a print into a frame, but when it's done right it's much more special. There lots of options, and no wrong way to do it. I'm going to share some of my ideas in this blog series to help you all easily display papercuttings and lasercut artwork.
Below I'm going to share my favourite method for framing my papercutting artwork - within a floating frame. In this style the piece is pressed in between two panes of glass. I'm partial to this method because it really shows off the piece as a papercutting - you can immediately see through the paper to the wall behind it, and when the light is right it can even create a shadow effect on the wall. Check out my Instagram for this video tutorial as well.
Purchase my paper anatomy pieces framed in this style on my online shop - or DIY with this method below!
Materials Needed:
Step 1: Prepare your frame. The worst part about floating frames is they often have stickers on the glass which can be time consuming and annoying to remove. A great tip is to blow dry the stickers for a few minutes to remove them - they often lift right up with minimal residue left behind. If there's any sticky residue left, apply a drop or two of "Goo Gone" or kitchen oil to soak on the residue. Wipe away with paper towel after 20 minutes or so and it should clean right off.
Step 2: Clean your frame with Windex or any glass cleaner and paper towel. Because floating frames have 2 panes of glass, there are 4 sides to clean. I usually clean the insides of the glass first and then front and back at the end (as they can get fingerprints on them during the framing process). You may have to clean the glass more than once if you applied a lot of goo gone or oil.
Step 3: Apply 1-3 small pieces of double sided tape to your papercutting piece. If you don't have double sided you can use regular tape folded over (but it's tricky to fold it very small). If the piece of tape you're applying isn't in the top-centre area of the piece make sure to put more than one or the piece may slide and become crooked within the frame.
With the heart piece below you can see that I'm applying the tape to this area with a larger surface area of un-cut paper. Some pieces are tricker as they don't have many areas without cuts, so they may require the tape to be cut very small. Try your best, but even if the tape is a bit visible it usually is fine once the piece is displayed up on the wall.

Step 4: Place the papercutting front-face down onto the front piece of glass, and position it in the centre of the frame. Place the back piece of glass on top of the piece, and press the glass onto the piece where the tape is so that it sticks well. Place the back rectangle piece that holds the glass within the frame and secure the tabs.
Step 5: Windex the front and back of the frame to ensure it's clean of any finger prints.
And you're done! Display your piece on the wall - because it's within the two panes of glass it will sit an inch or so off the wall so you can really appreciate all the little cuts carved out of the paper. When the light hits the frame you can even see the shadows cast on the wall behind the piece. Hope this was helpful - ask any questions in the comments or
email me if you're looking for a specialty framed papercutting piece!


Comments